Description
Photinia Red Robin (250cm–300cm)
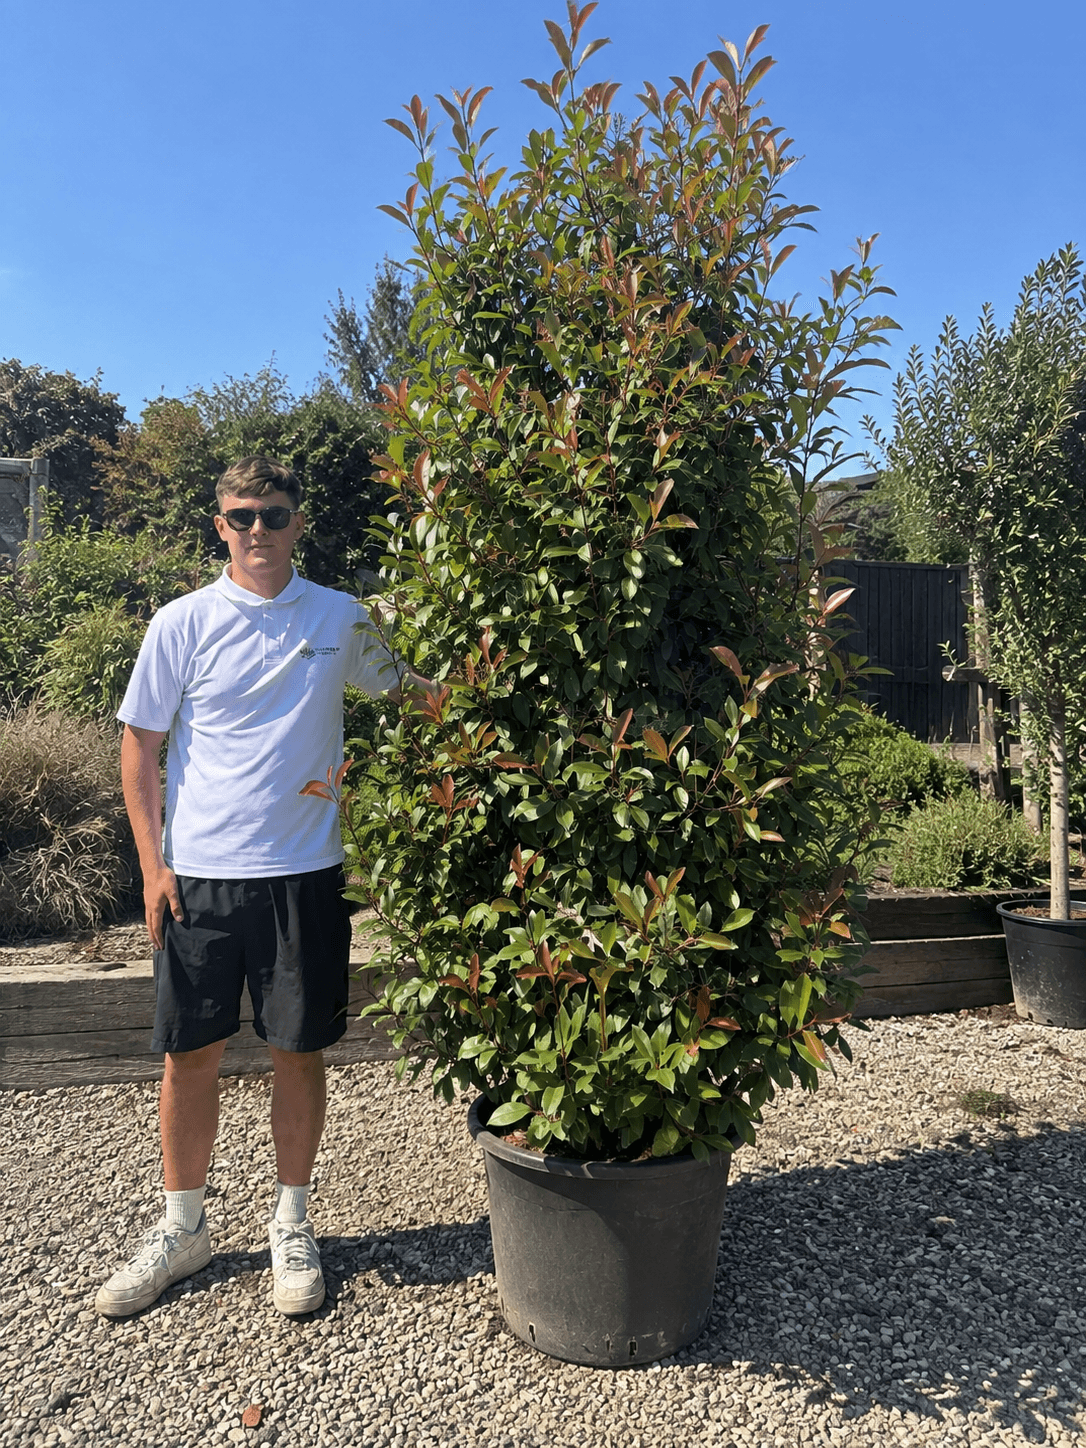
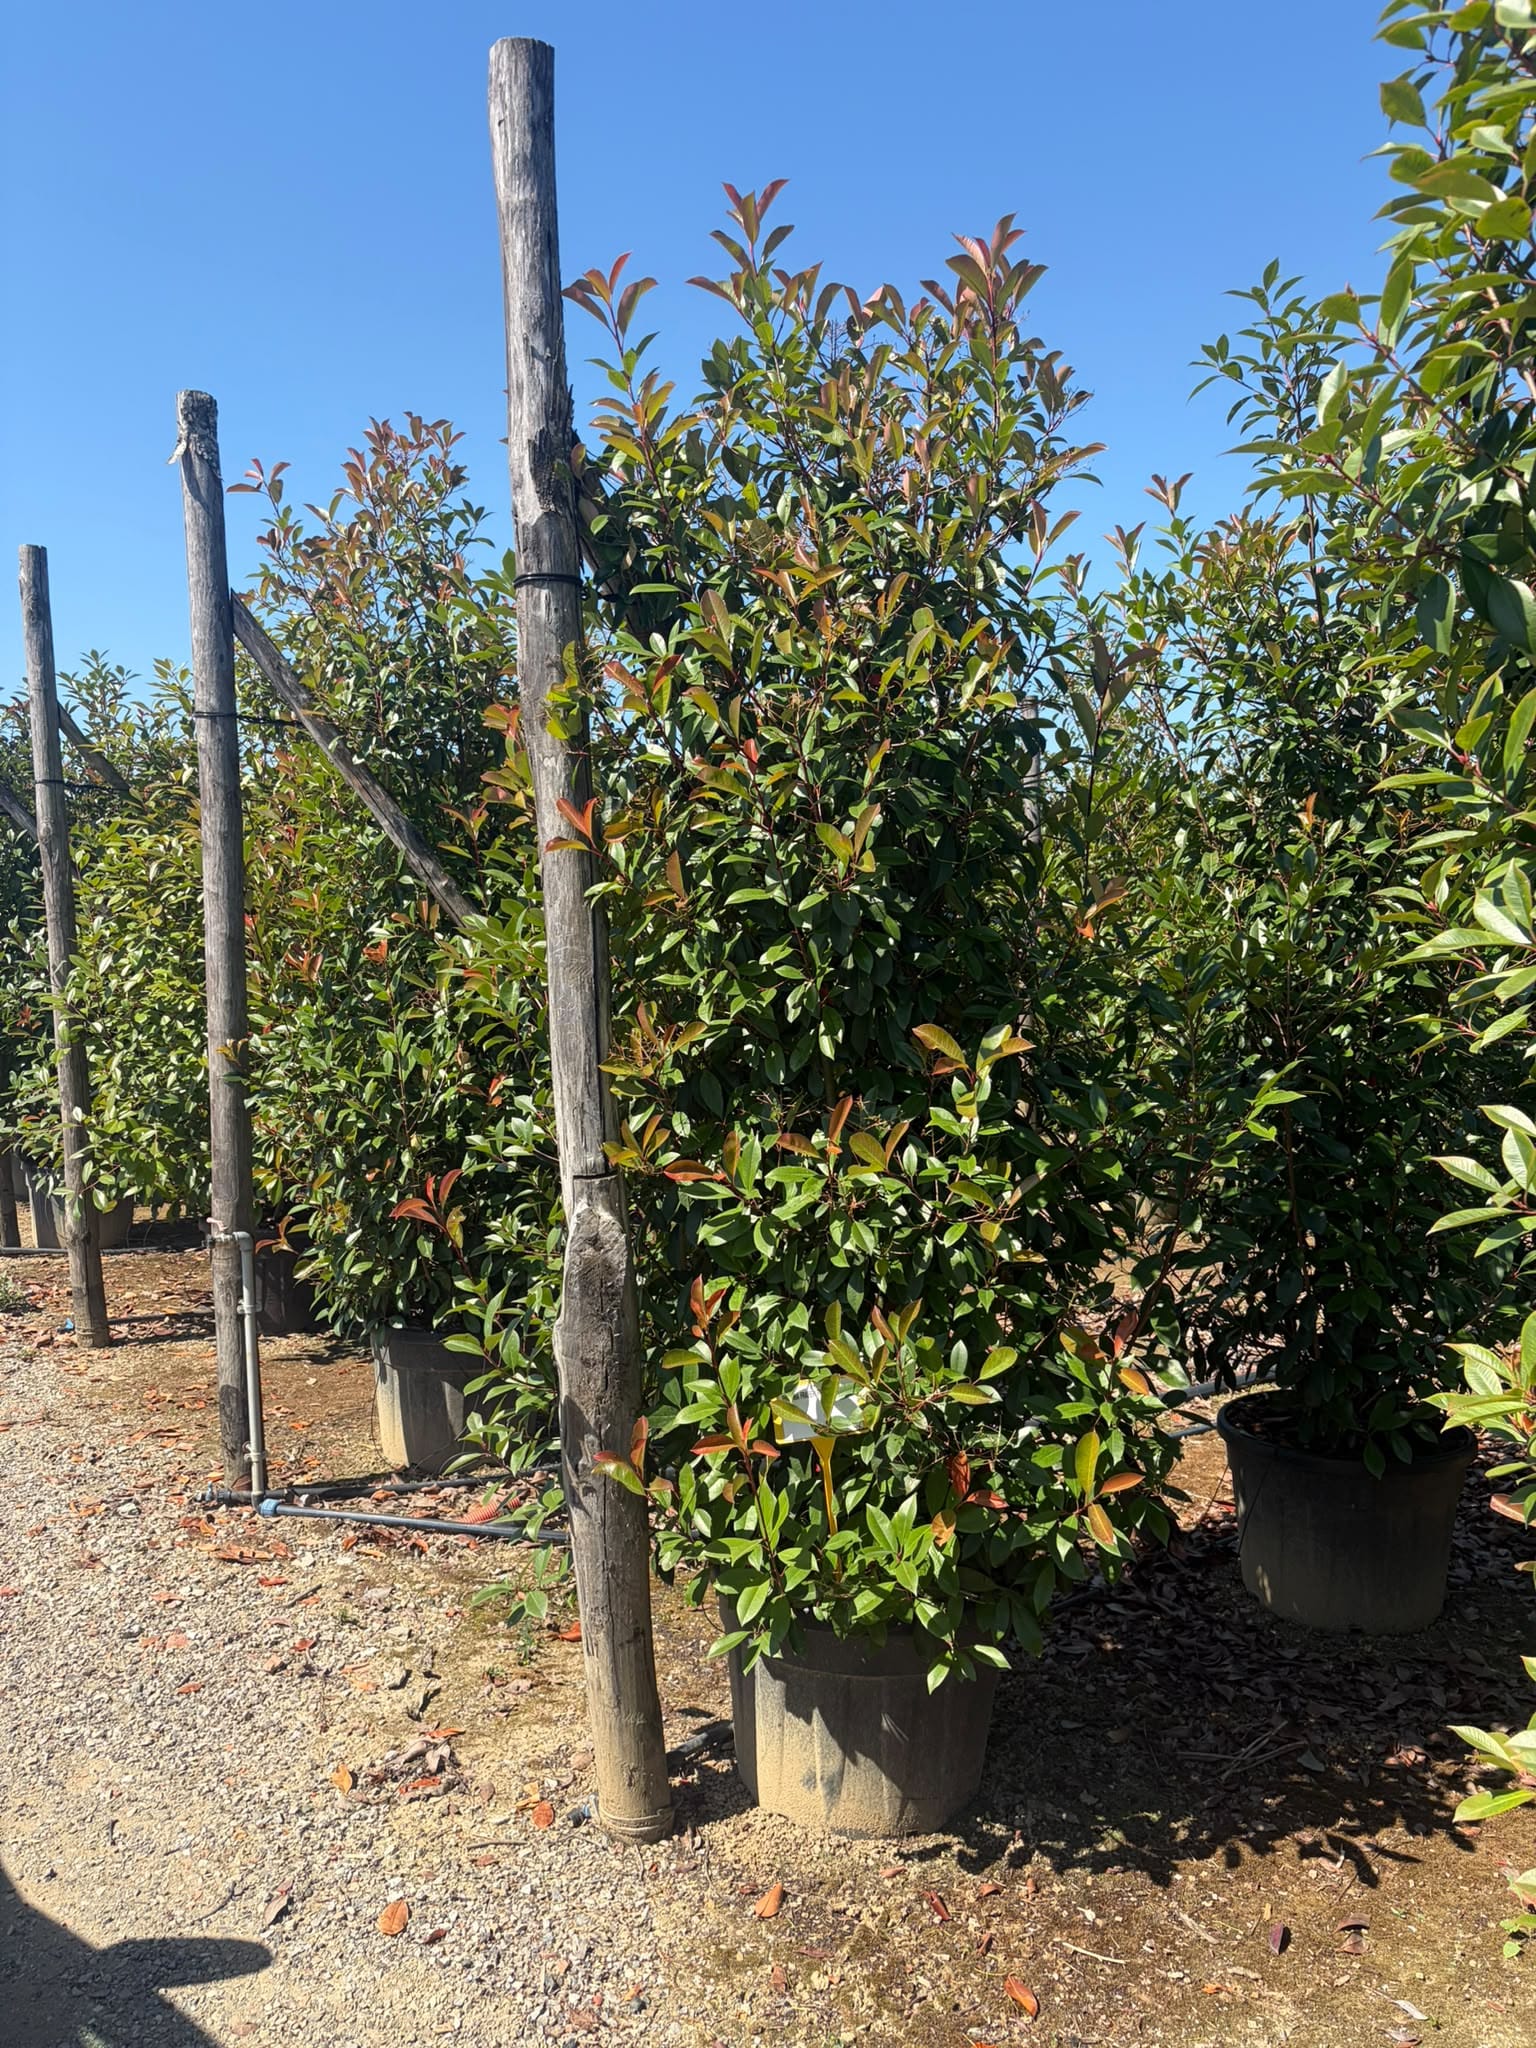
Create instant impact in your garden with our mature Photinia Red Robin, standing an impressive 250cm–300cm tall. Known for its striking bright red new growth, which gradually matures to a rich glossy green, this evergreen shrub provides year-round colour, structure and privacy.
Its dense foliage makes Photinia Red Robin an excellent choice for screening, hedging or creating a bold statement in larger borders and landscaped gardens. During spring, fresh red shoots provide a vibrant burst of colour, while clusters of small white flowers may also appear on established plants.
Hardy, versatile and relatively easy to maintain, Photinia Red Robin performs best in a sunny or partially shaded position with well-drained soil. Regular pruning encourages dense growth and promotes further flushes of its distinctive red foliage.
At 250cm–300cm, these mature specimens are ideal for customers looking to achieve immediate height, privacy and established garden presence without waiting years for smaller plants to grow.
Key Features:
• Mature height on delivery: 250cm–300cm
• Evergreen foliage for year-round interest
• Vibrant red new growth maturing to glossy green
• Ideal for screening, hedging and privacy
• Suitable for sun or partial shade
• Hardy and easy to maintain
• Excellent for creating instant impact in established gardens
How To Plant
Choose the right pot
Pick one 2–3× wider than the rootball with drainage holes. Add a saucer if it’s on a patio, but never let the pot sit in standing water.
Prep your mix (pots)
Use quality peat‑free multi‑purpose compost blended with roughly 20–30% grit or perlite for drainage. You can mix in a small handful of slow‑release fertiliser granules following the label.
Potting steps
Cover the drainage holes with crock or mesh, add a 3–5 cm base layer of compost mix, and gently tease the outer roots. Position the plant so the top of the rootball sits level with the pot rim, backfill and firm lightly to remove air pockets (don’t bury the stem), then water thoroughly until it runs from the base.
Positioning (both)
Choose a bright spot with a few hours of sun and shelter from strong, cold winds. For pots, raise the container on feet or small blocks to keep the base off the ground and prevent waterlogging.
Watering (both)
Keep the root zone evenly moist during the first season. Check moisture 3–5 cm down and water deeply when dry. In heatwaves expect to water every 1–3 days in pots and about two to three times per week in the ground; in winter, water far less but do not allow the rootball to become bone‑dry.
Feeding (both)
In spring, apply a slow‑release fertiliser as directed. From late spring to mid‑summer, an optional liquid feed every three to four weeks helps container plants perform at their best.
Pruning & shaping (both)
Lightly trim after the main flush of new growth to keep the plant dense and tidy. Remove dead, damaged, or crossing stems whenever you see them.
Mulching (both)
Apply a 2–3 cm mulch of compost or fine bark over the root zone to reduce evaporation and suppress weeds, keeping mulch a few centimetres away from the main stem.
Planting in the ground: site & soil
Choose sun to light shade and avoid spots that stay waterlogged. Improve heavy clay with grit and organic matter; for very sandy soil, add plenty of compost to hold moisture.
Planting in the ground: dig, prep, plant
Dig a hole roughly twice as wide as the rootball and only as deep. Roughen the sides and base, and prepare backfill from topsoil and well‑rotted compost at about 70/30 without strong fertiliser at planting. Soak the potted plant for 10–15 minutes, remove it, tease outer roots, and set the top of the rootball level with the surrounding soil. Backfill and firm in layers, form a shallow watering basin, water deeply with a full can or two, and finish with a 2–3 cm mulch that does not touch the stem.
Spacing & staking (ground)
Allow at least 1–1.5 m of space from walls, fences, or other shrubs for airflow and shape. Most shrubs do not need staking; in very windy sites use a short stake set at an angle with a soft tie during the first season only.
Aftercare (first year)
Water deeply once or twice per week in dry spells, aiming at the original rootball area. Top up mulch each spring and give a light shape once vigorous new growth is visible.
Winter care (UK)
For pots, raise on feet and, in severe frost, move near a wall or wrap the container with fleece or bubble wrap. In the ground, mulch before hard frosts and avoid waterlogging.
Quick troubleshooting
Yellowing leaves usually indicate overwatering or poor drainage; improve drainage and reduce watering. Brown, crispy edges suggest underwatering or wind scorch; water more deeply and add shelter. Leggy growth means the plant needs more light; move to a brighter spot and give a light trim after the main growth flush.